https://youtube.com/shorts/mYDfbs7BQUg?feature=share
hello anons. how is everyone? welcome new comers to katmankool Productions 101.
lets dive right in.
so you want ro be a content creator.
if you gave been following along you should know by now
1: your user name/identity
2: the kind of content you want to create
3: what video app u want to use#videoGURU
4: your platform#youtube
welcome to proj l.
what i have here is a one image short.
in the comments i am going to try and show you step by step how i created this short. please bare with me for we are traversing new territory. please do not hesitate if it is confusing let me know so i can clarify. all questions are important. dont be shy. step one will be the 1st comment. step two will be the 2nd comment and so on. we will end with tips on how to be more efficient and save time. thank you all for joining me...
lets continue
KK
YouTube
Teile deine Videos mit Freunden, Verwandten oder der ganzen Welt
https://youtube.com/shorts/mYDfbs7BQUg?feature=share
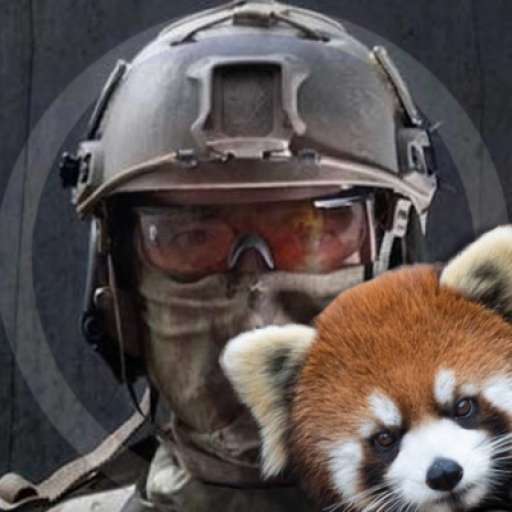
I'm back from serving my duties as a soldier and returning home to a whole new war. #blackpill
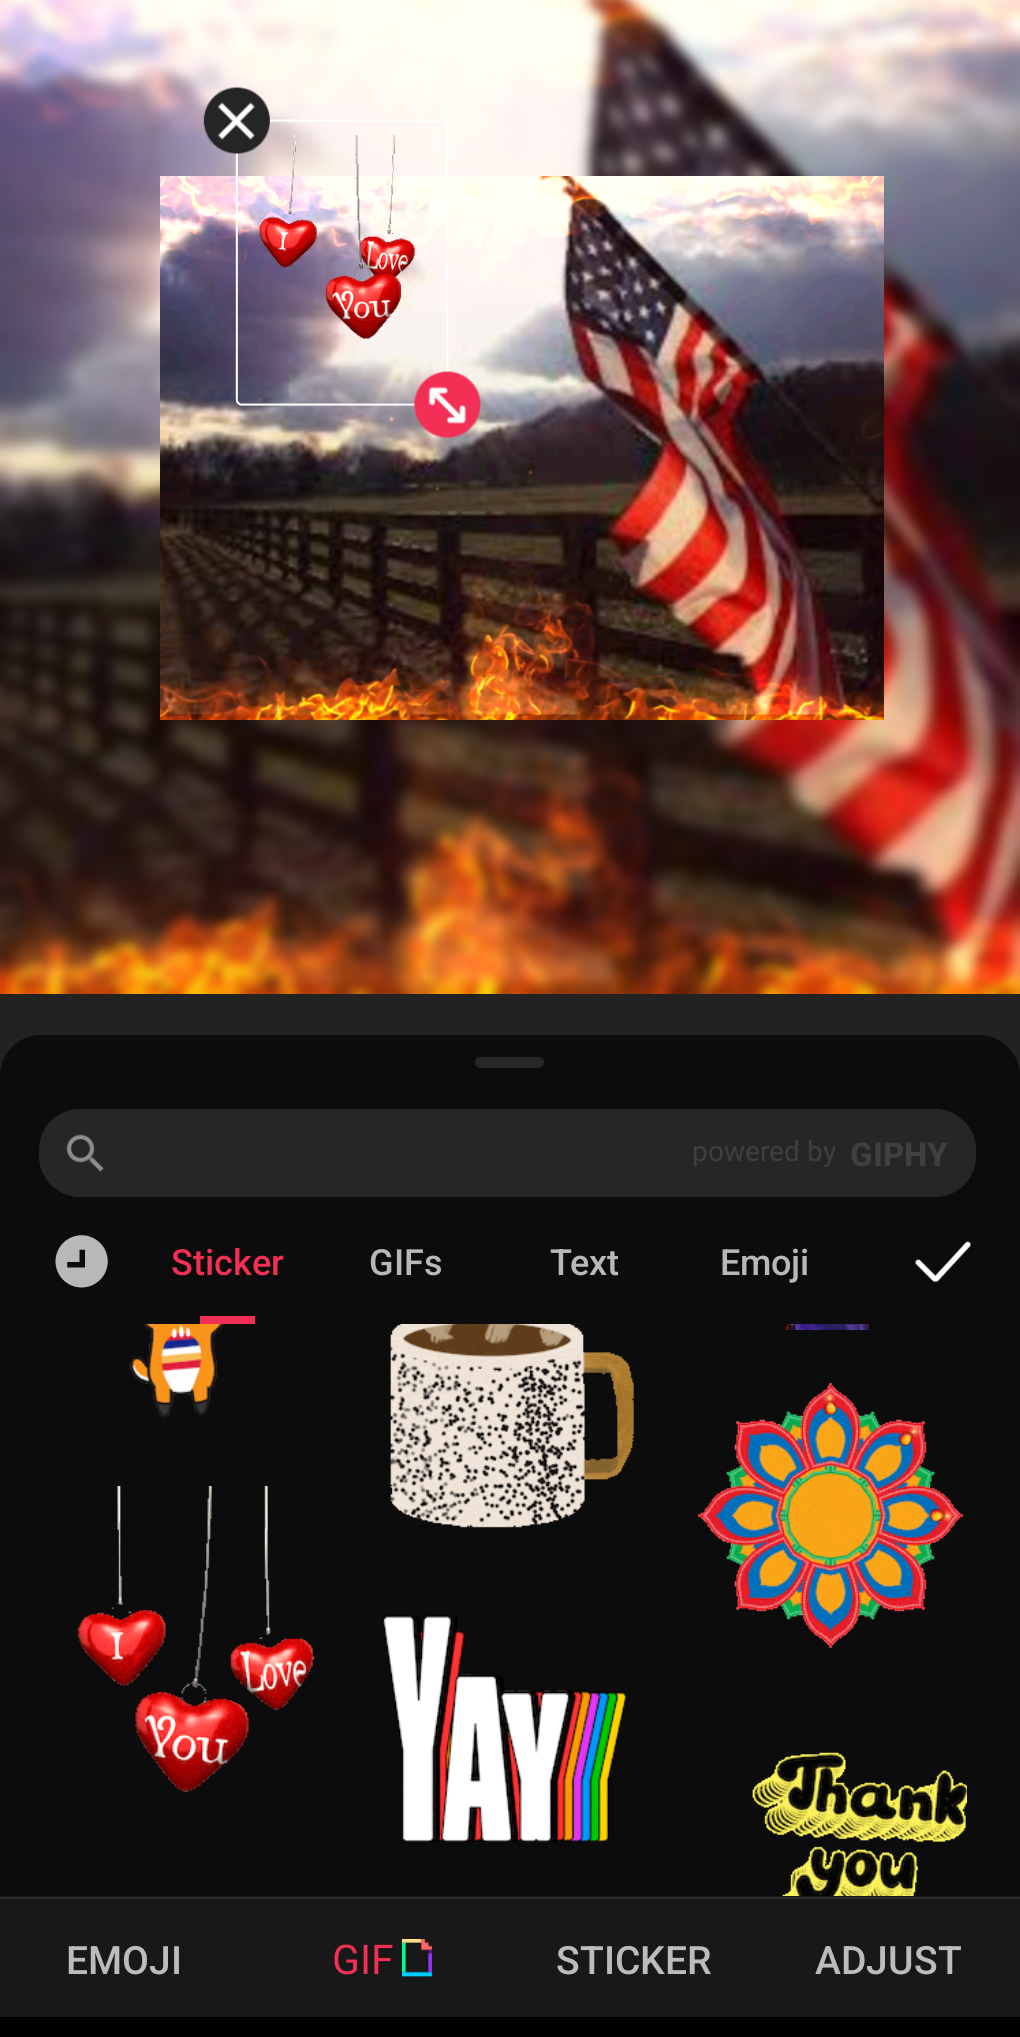
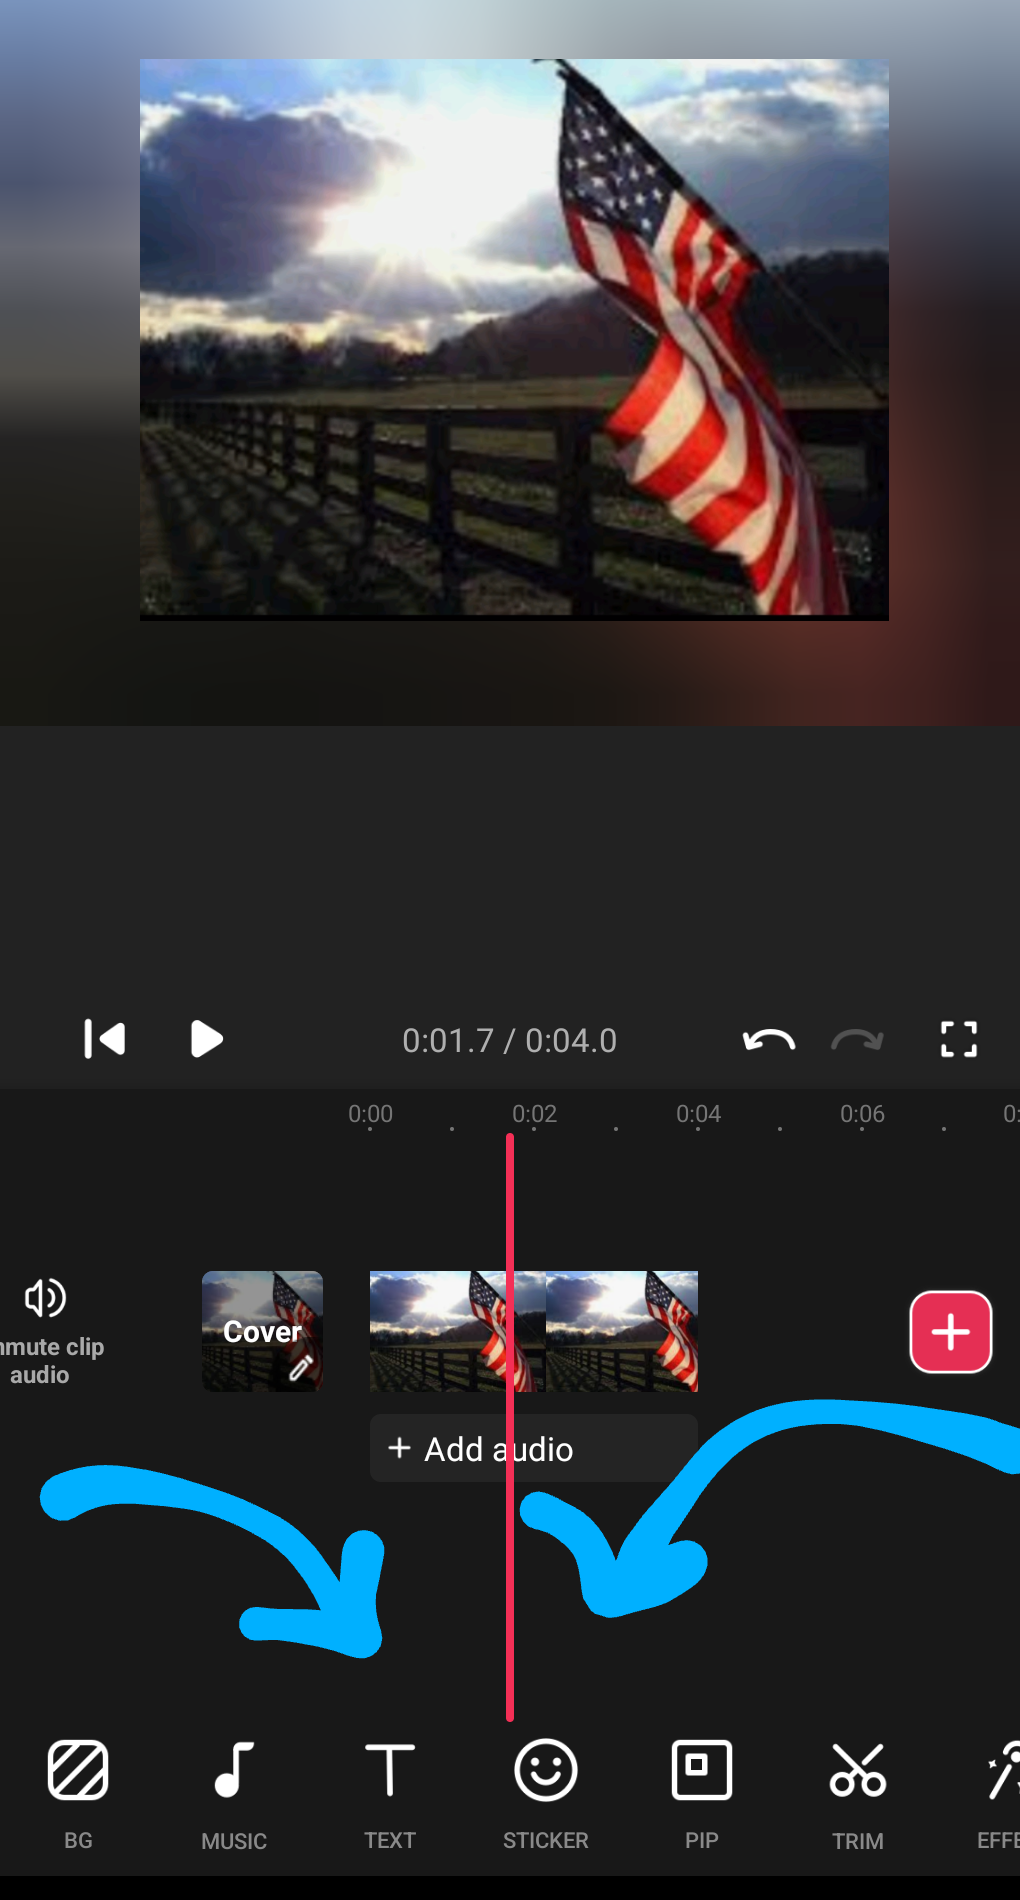
next step. stickers, text, gifs, and emojis are animation. when selecting an option you will get a box a lot like text. everything applies the same. you can easily. search any word that comes to mind to find the right animation for your project. always tap the check to apply
(cont)
KK
I'm back from serving my duties as a soldier and returning home to a whole new war. #blackpill
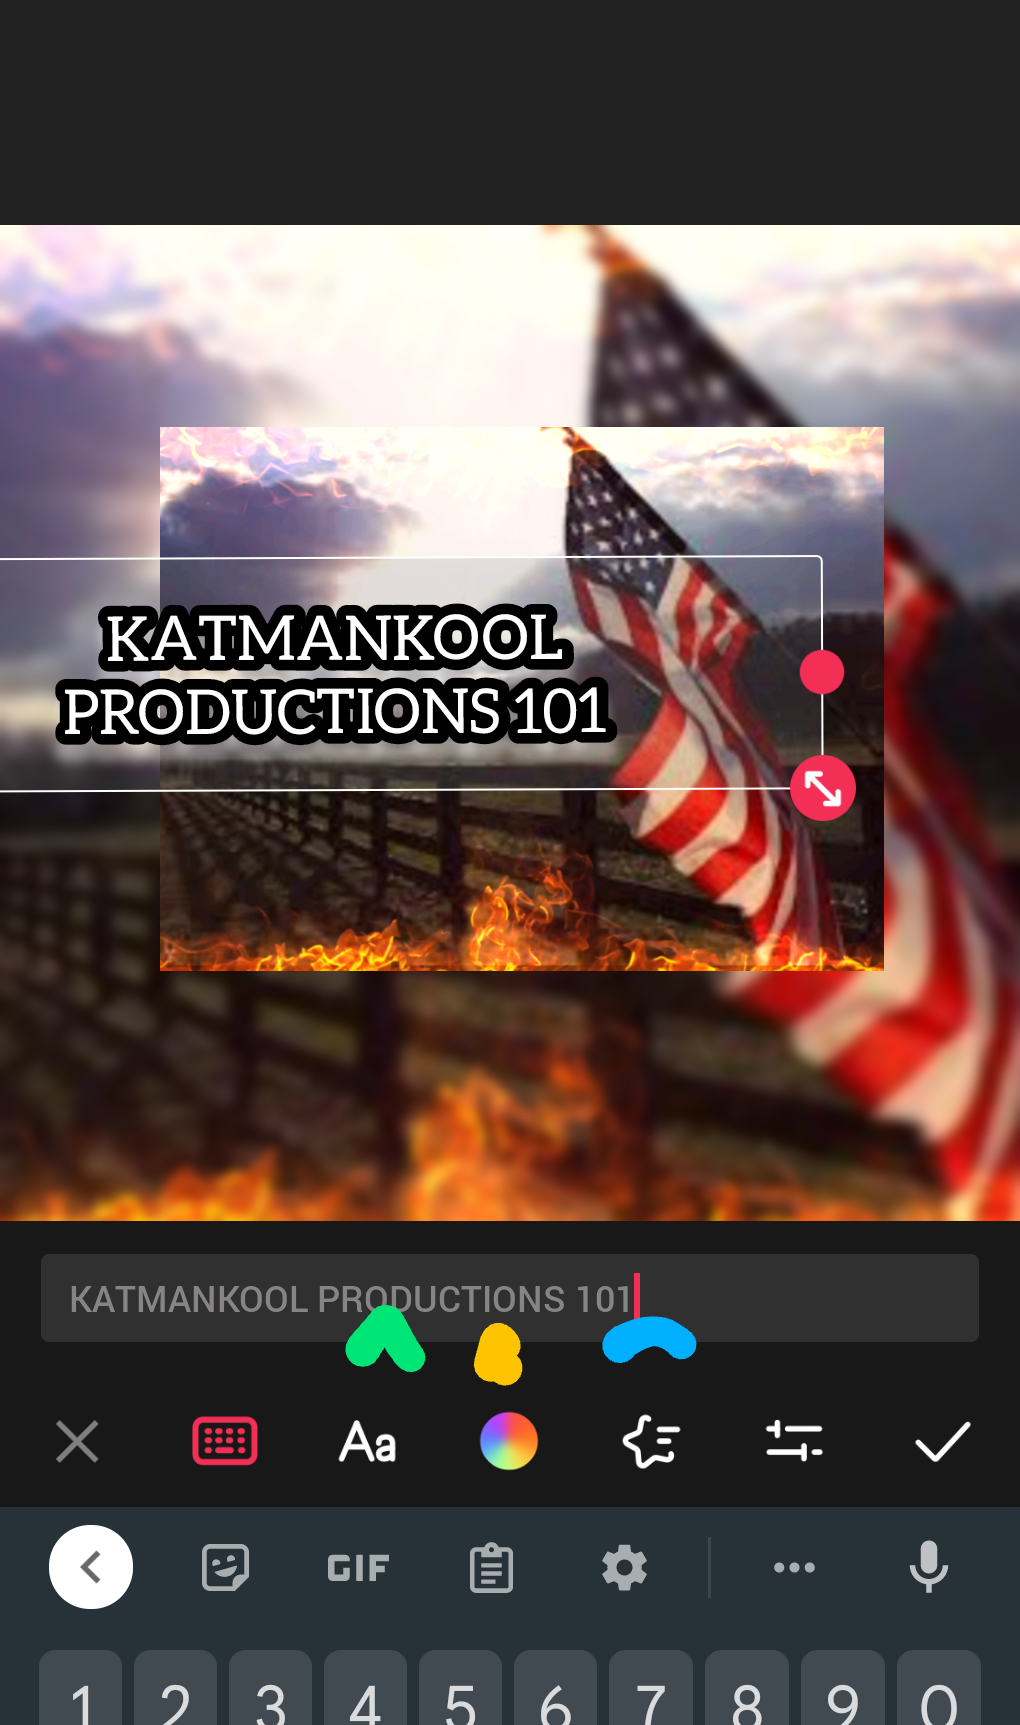
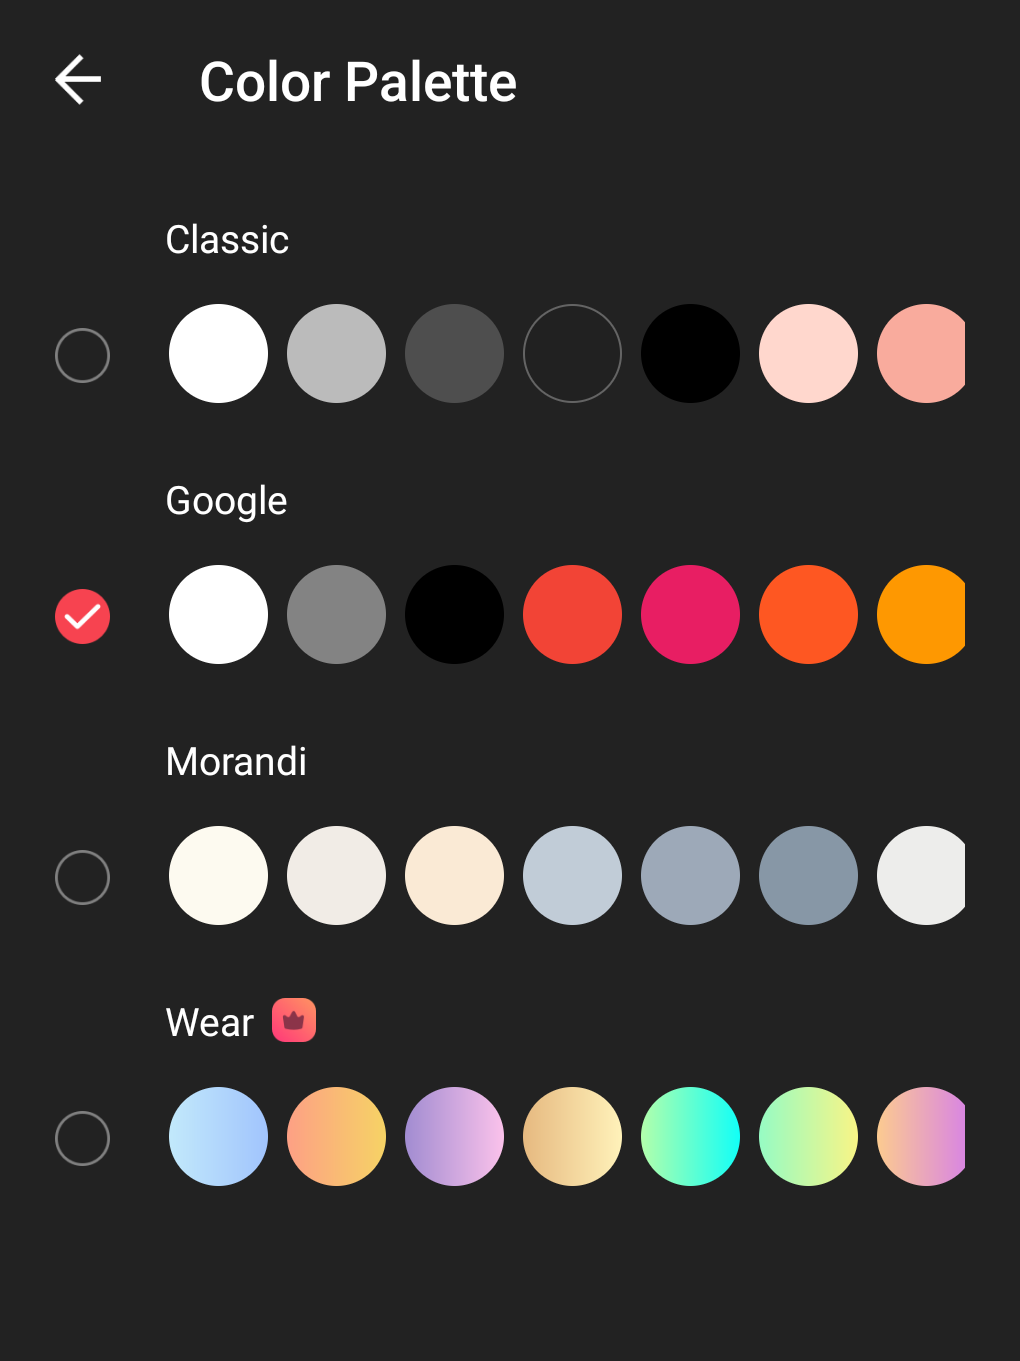
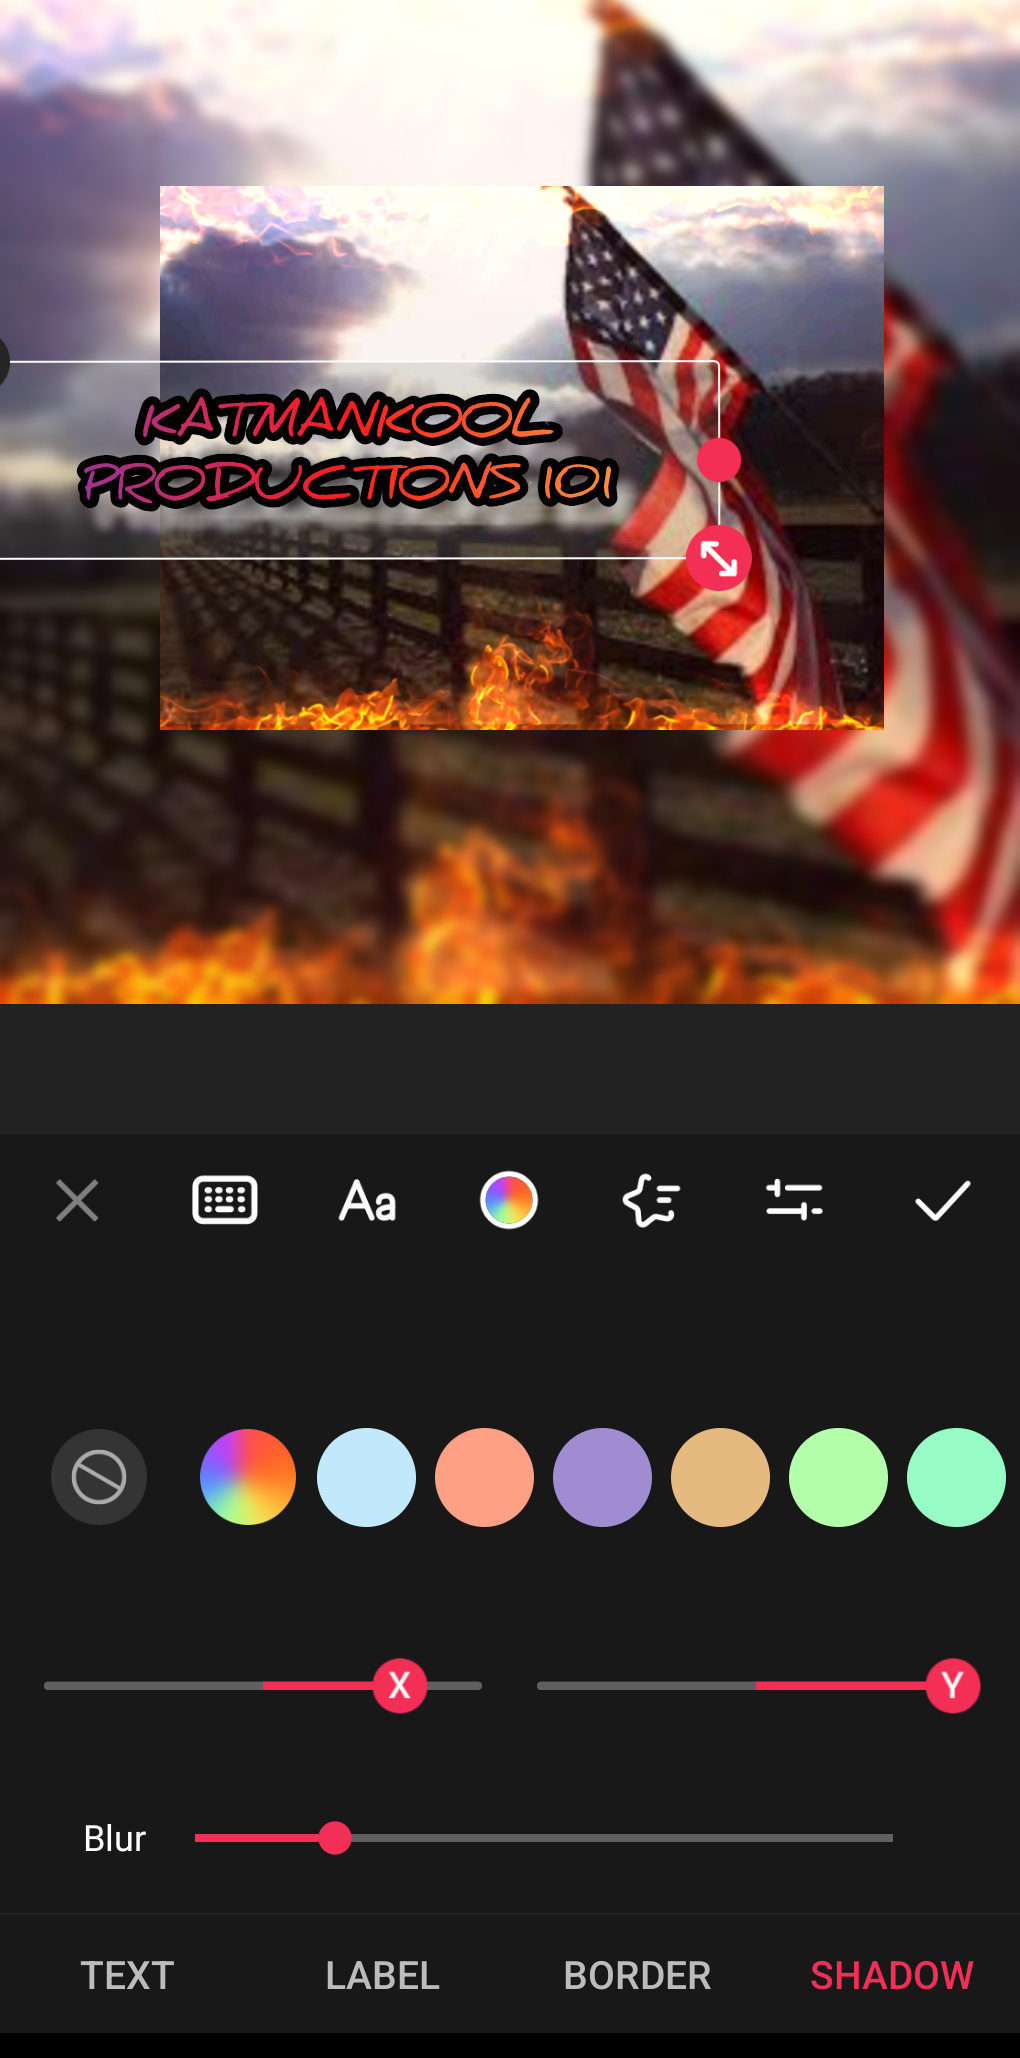
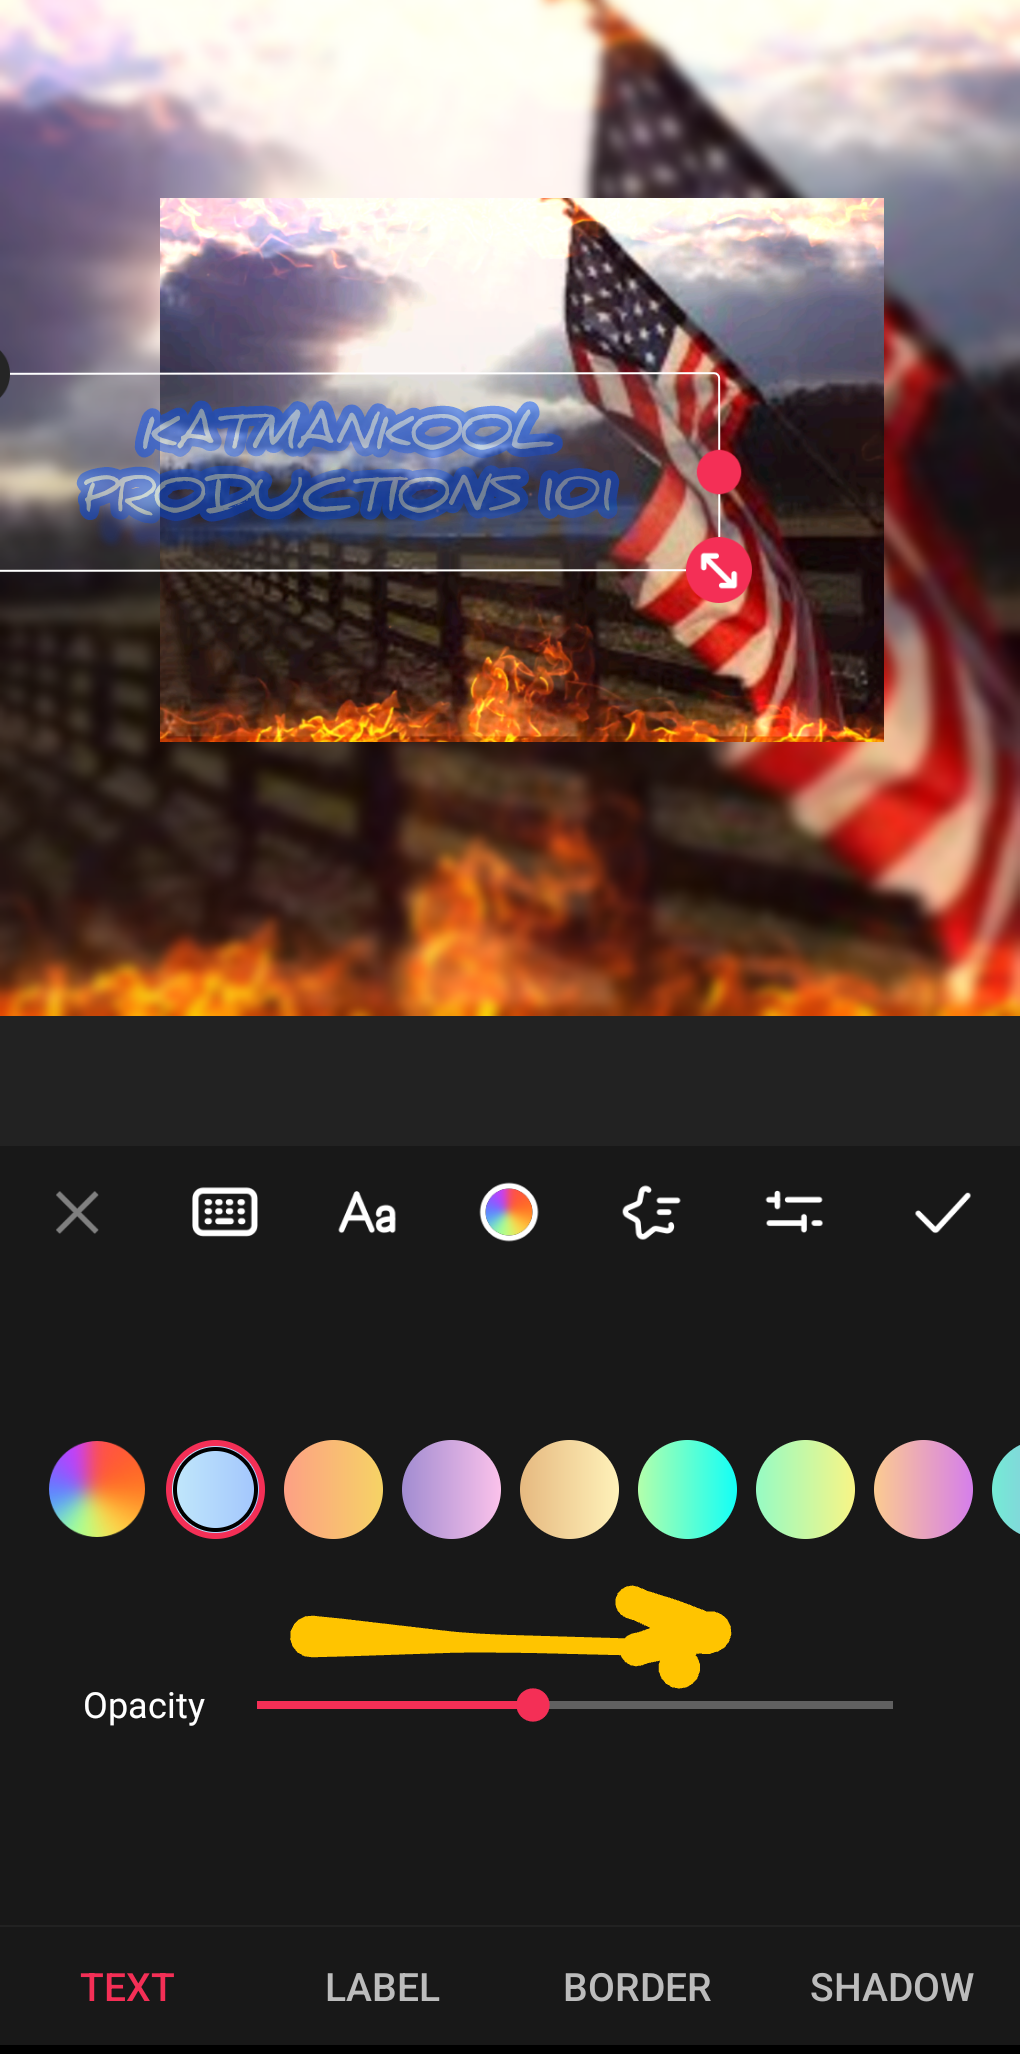
next is the text. im not sure if those are in order. bare with me as i am learning new methods too. . select text T from tool bar. a text box will appear. enter your text. the X in the upper left = delete. 🔵 the dot centered to the right will drag the box wider. 🟡 the arrow in the lower right resizes the text box. 🍏. next choose a color font and border. there are options for color choices. border size, drop shadows, and placement of text. practice. use tools and see what works for you. what doesn't work. animation is another story. well come back to that after later proj. 🔵. opacity will make ur text text transparent. color pallets can be changed according to style. X and Y is how you drop your shadow. next select text bar. hold down. pink 💘. select arrow at end if bar, hold down and drag
to the end of the image. (cont)
KK

I'm back from serving my duties as a soldier and returning home to a whole new war. #blackpill
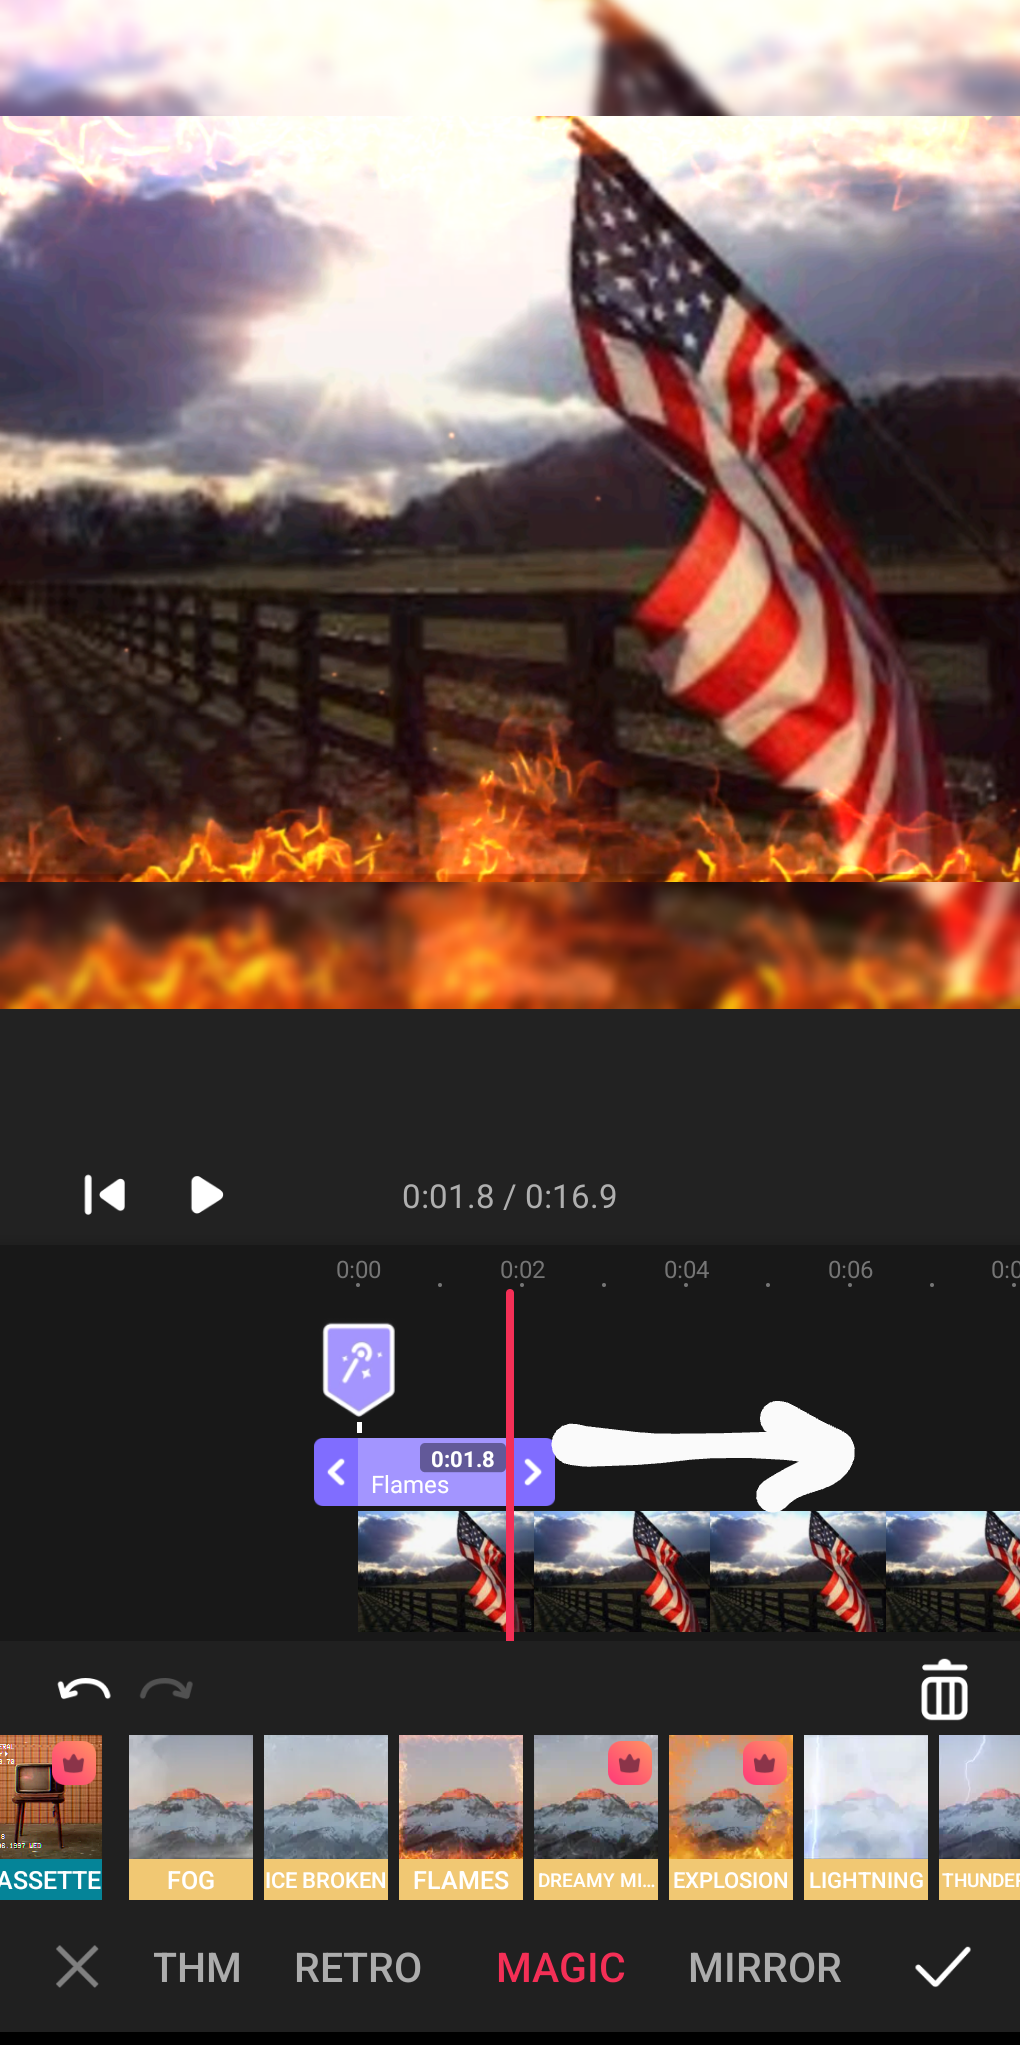
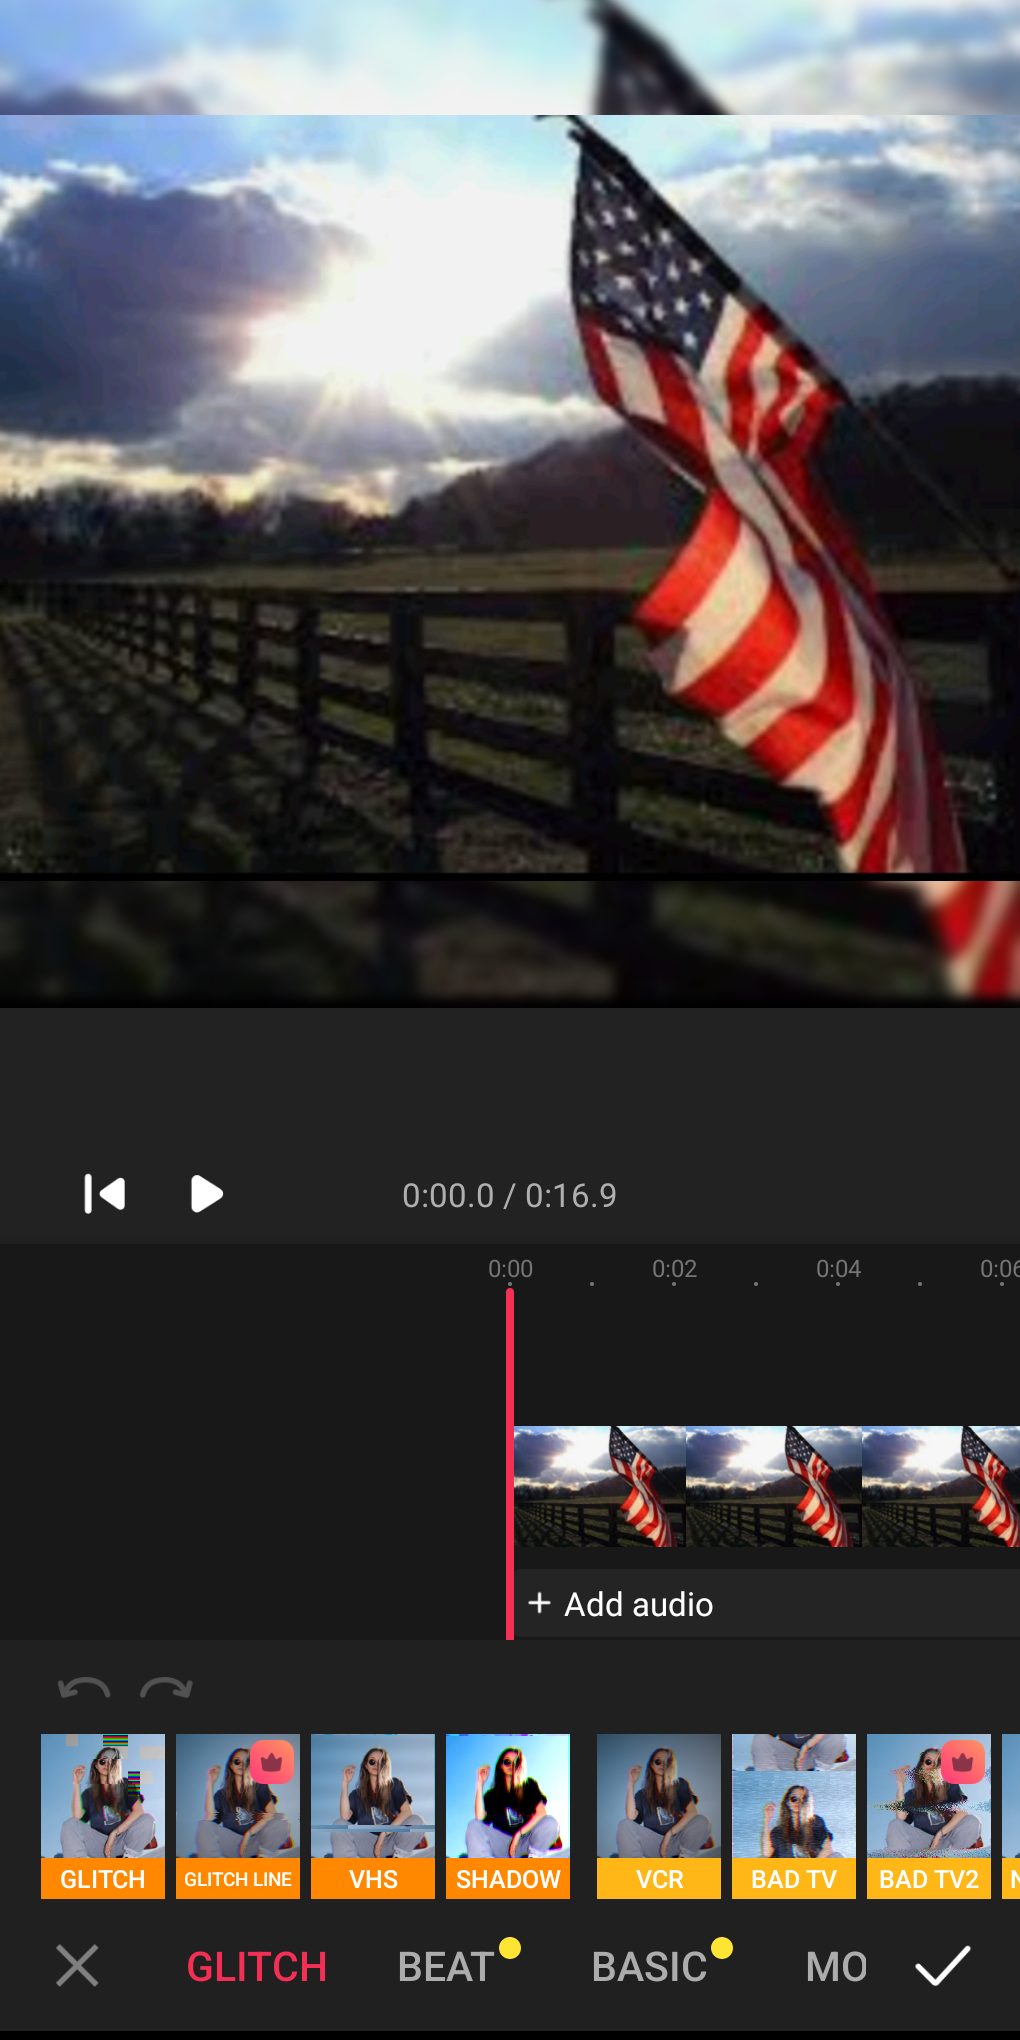
my apologies. next is effects. when choosing effects there are many options when sliding tool bar. under each option are many more. this will take practice depending on ur style. for this proj i chose magic > fire. de-select ur image. hold down on chosen effect. then hold arrow and drag to end of image ( cont.)
KK
I'm back from serving my duties as a soldier and returning home to a whole new war. #blackpill
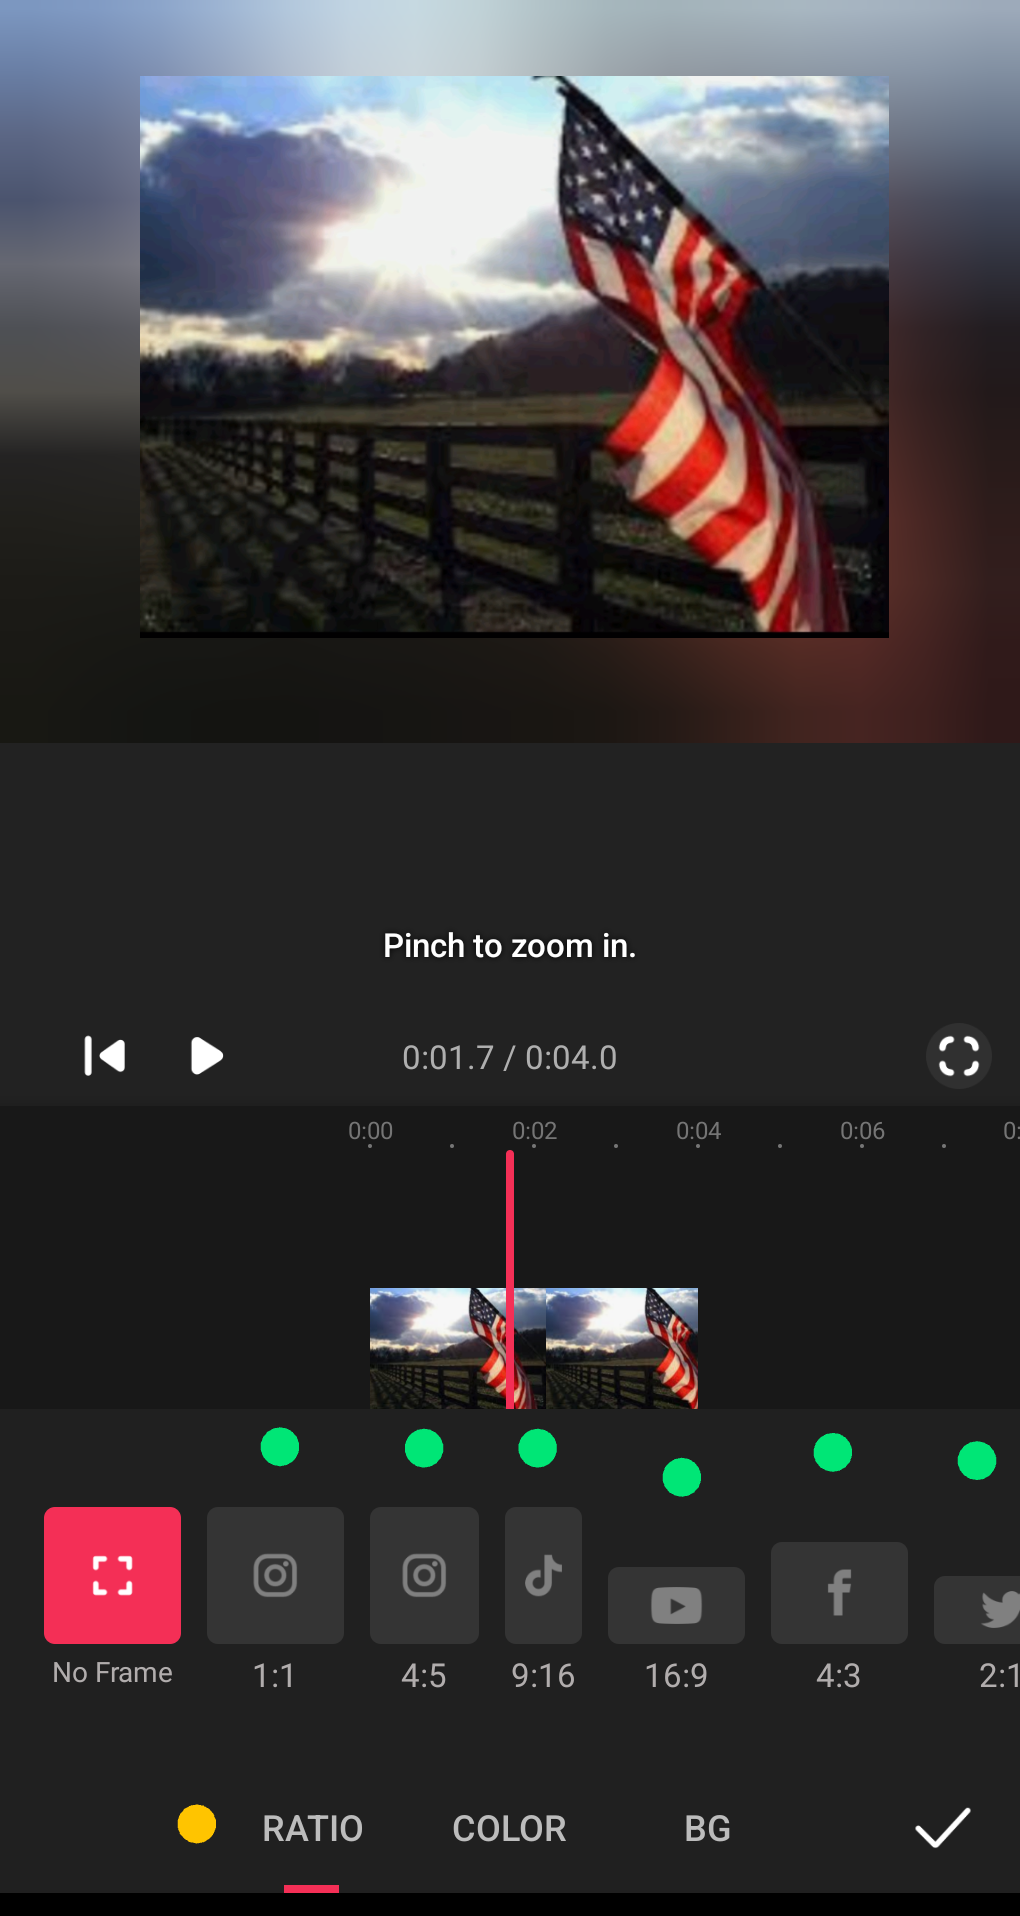
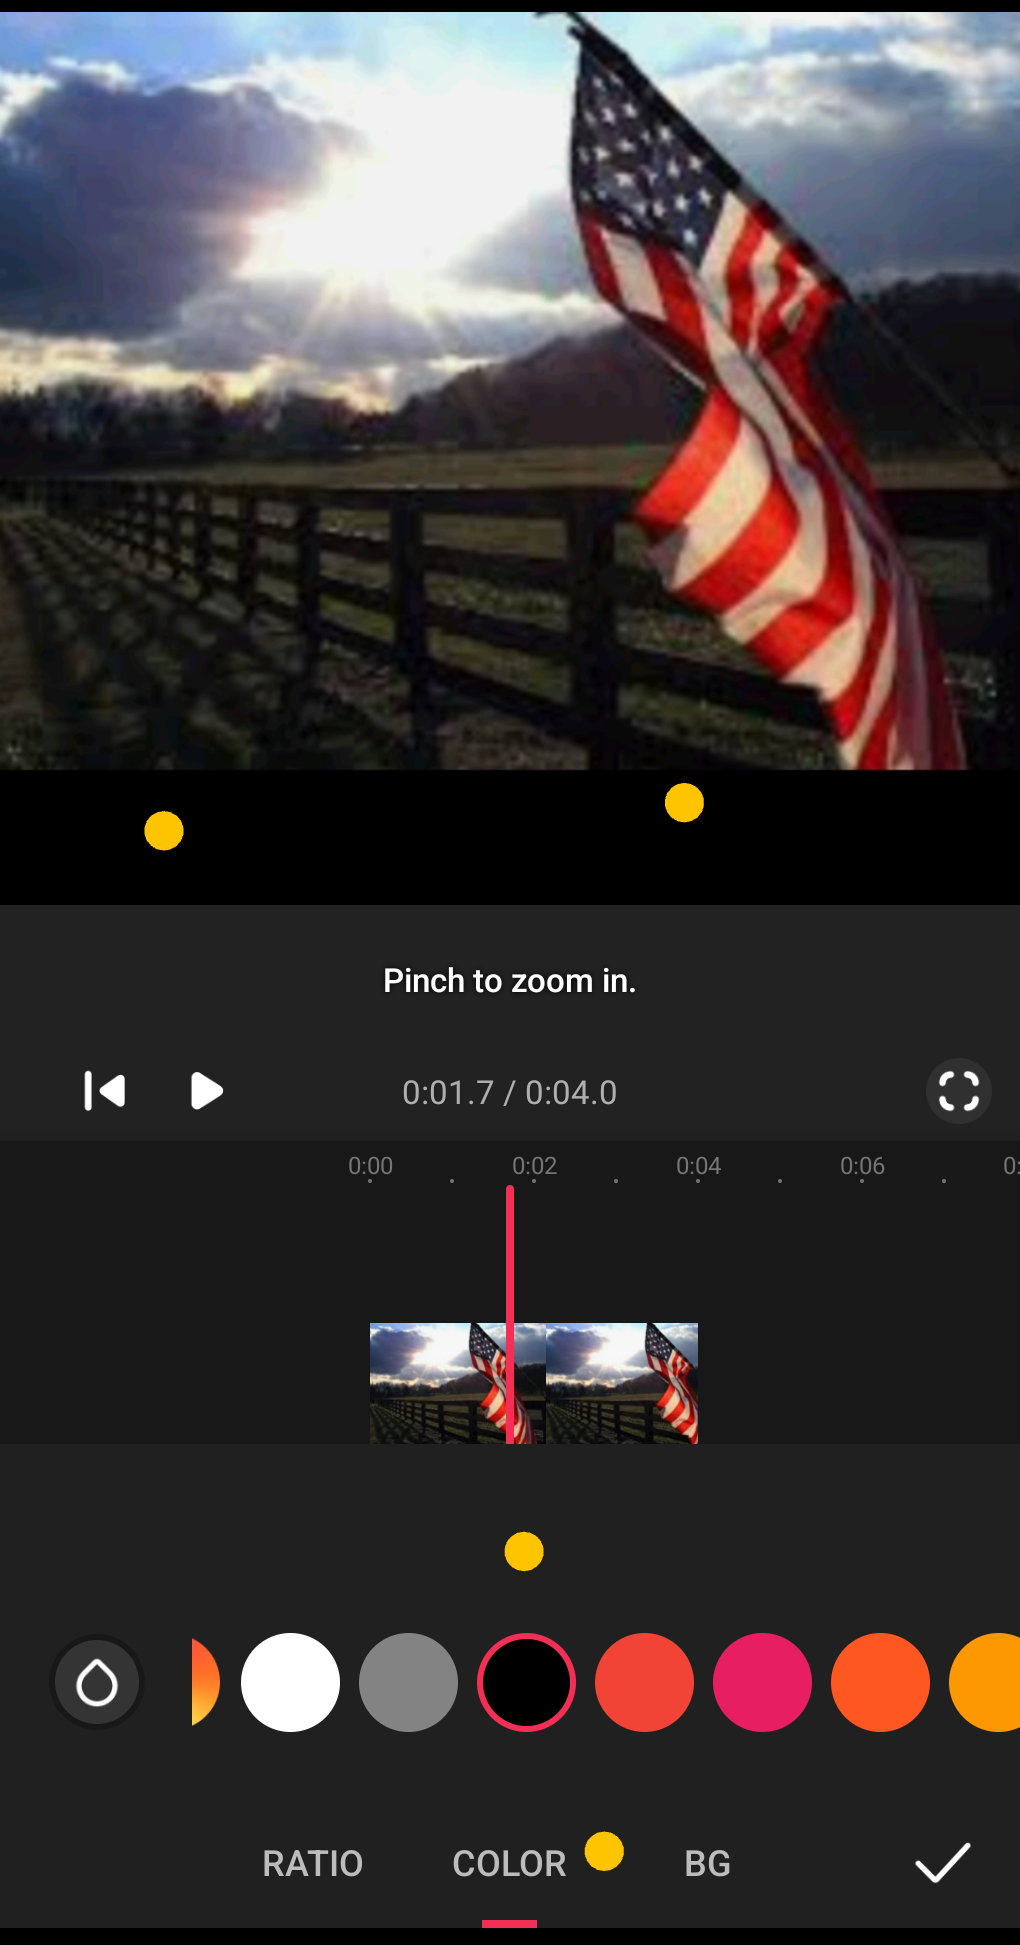
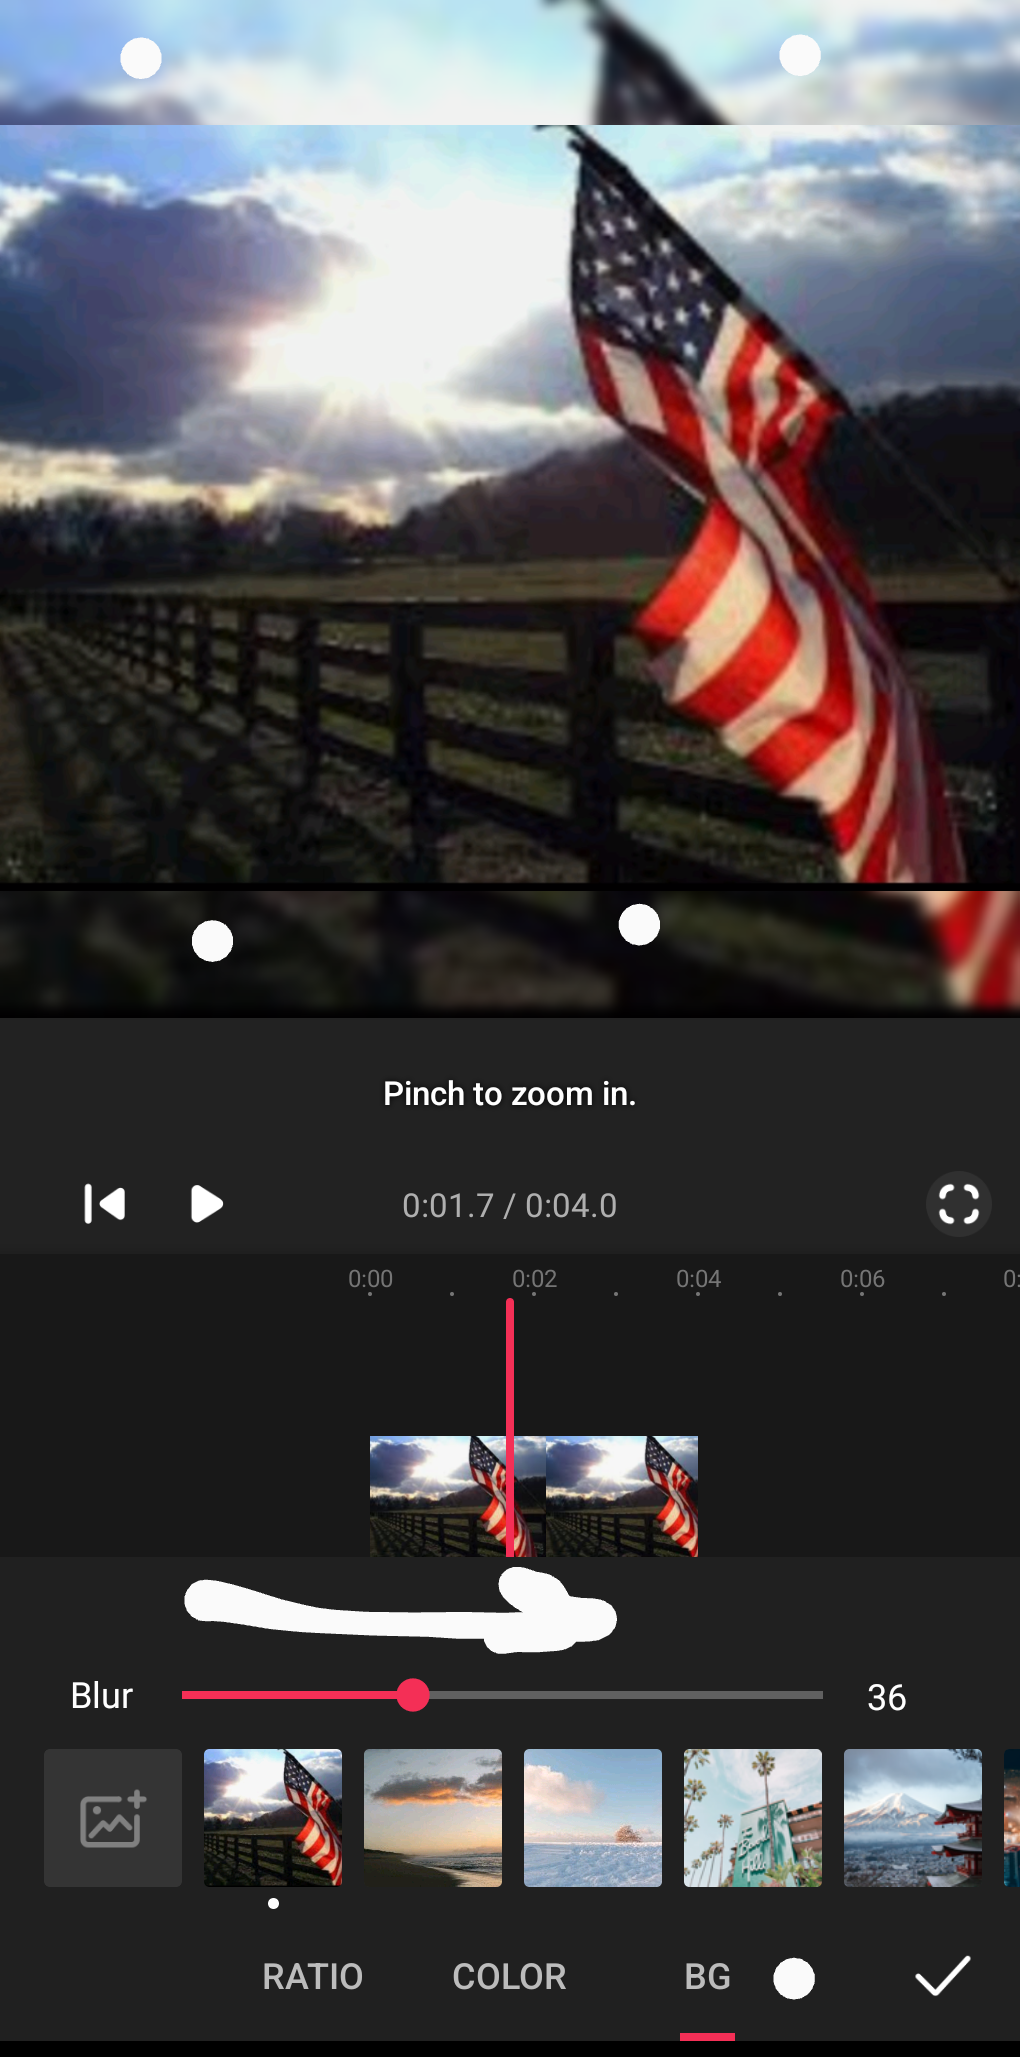
step 3: tool bar. what i did next in my short was set the back ground. (BG) you have three options. ratio, color, or BG. Practice ur ratios. i use 1:1 because of my style. the ratio will depend on yours. next color can be chosen for BG. Try to match ur image with bg color. practice complimenting ur image with color choice. i chose to mirror. BG option then drag to blur the bg keeping in mind best visibility of image for viewer. (cont.) next text...
KK
I'm back from serving my duties as a soldier and returning home to a whole new war. #blackpill
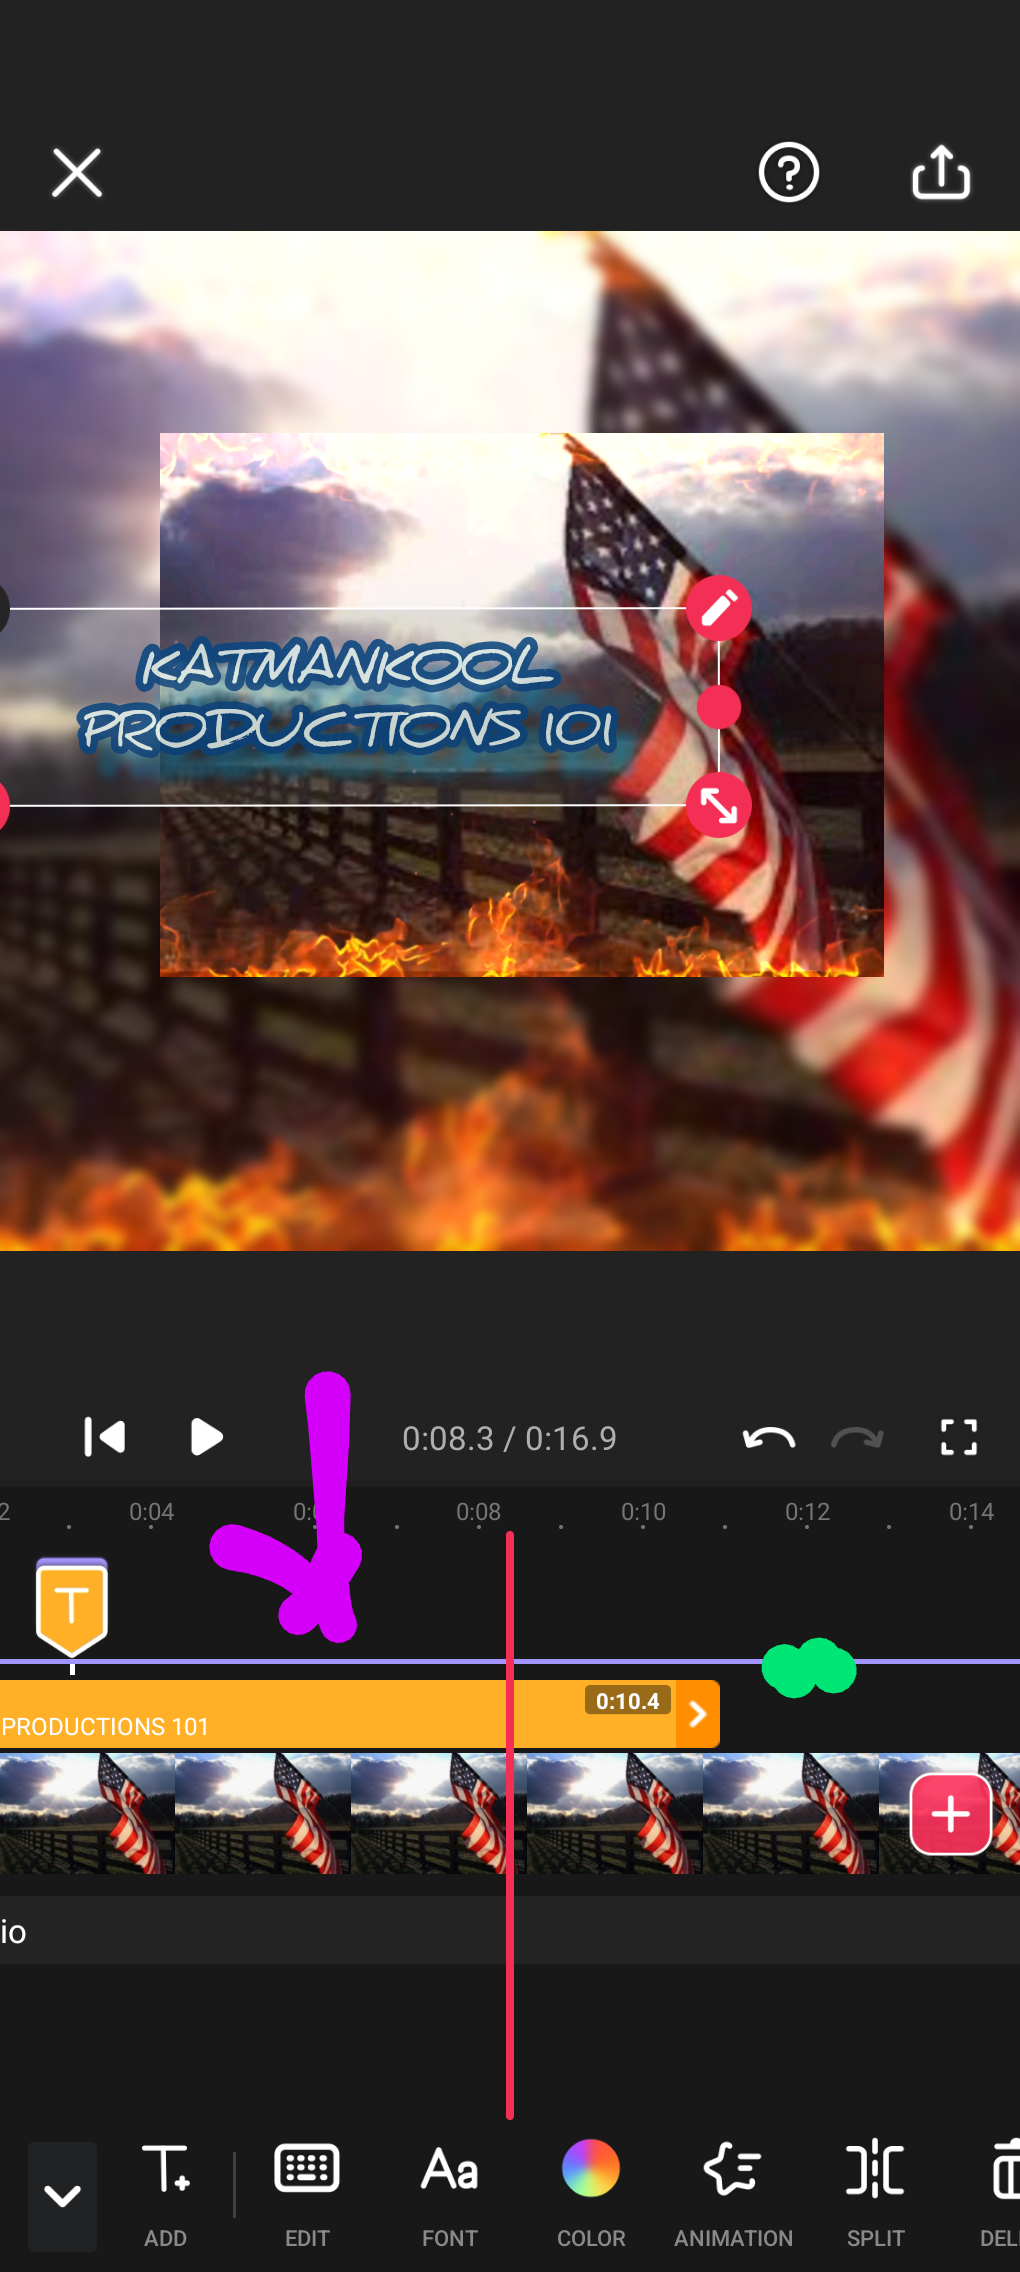
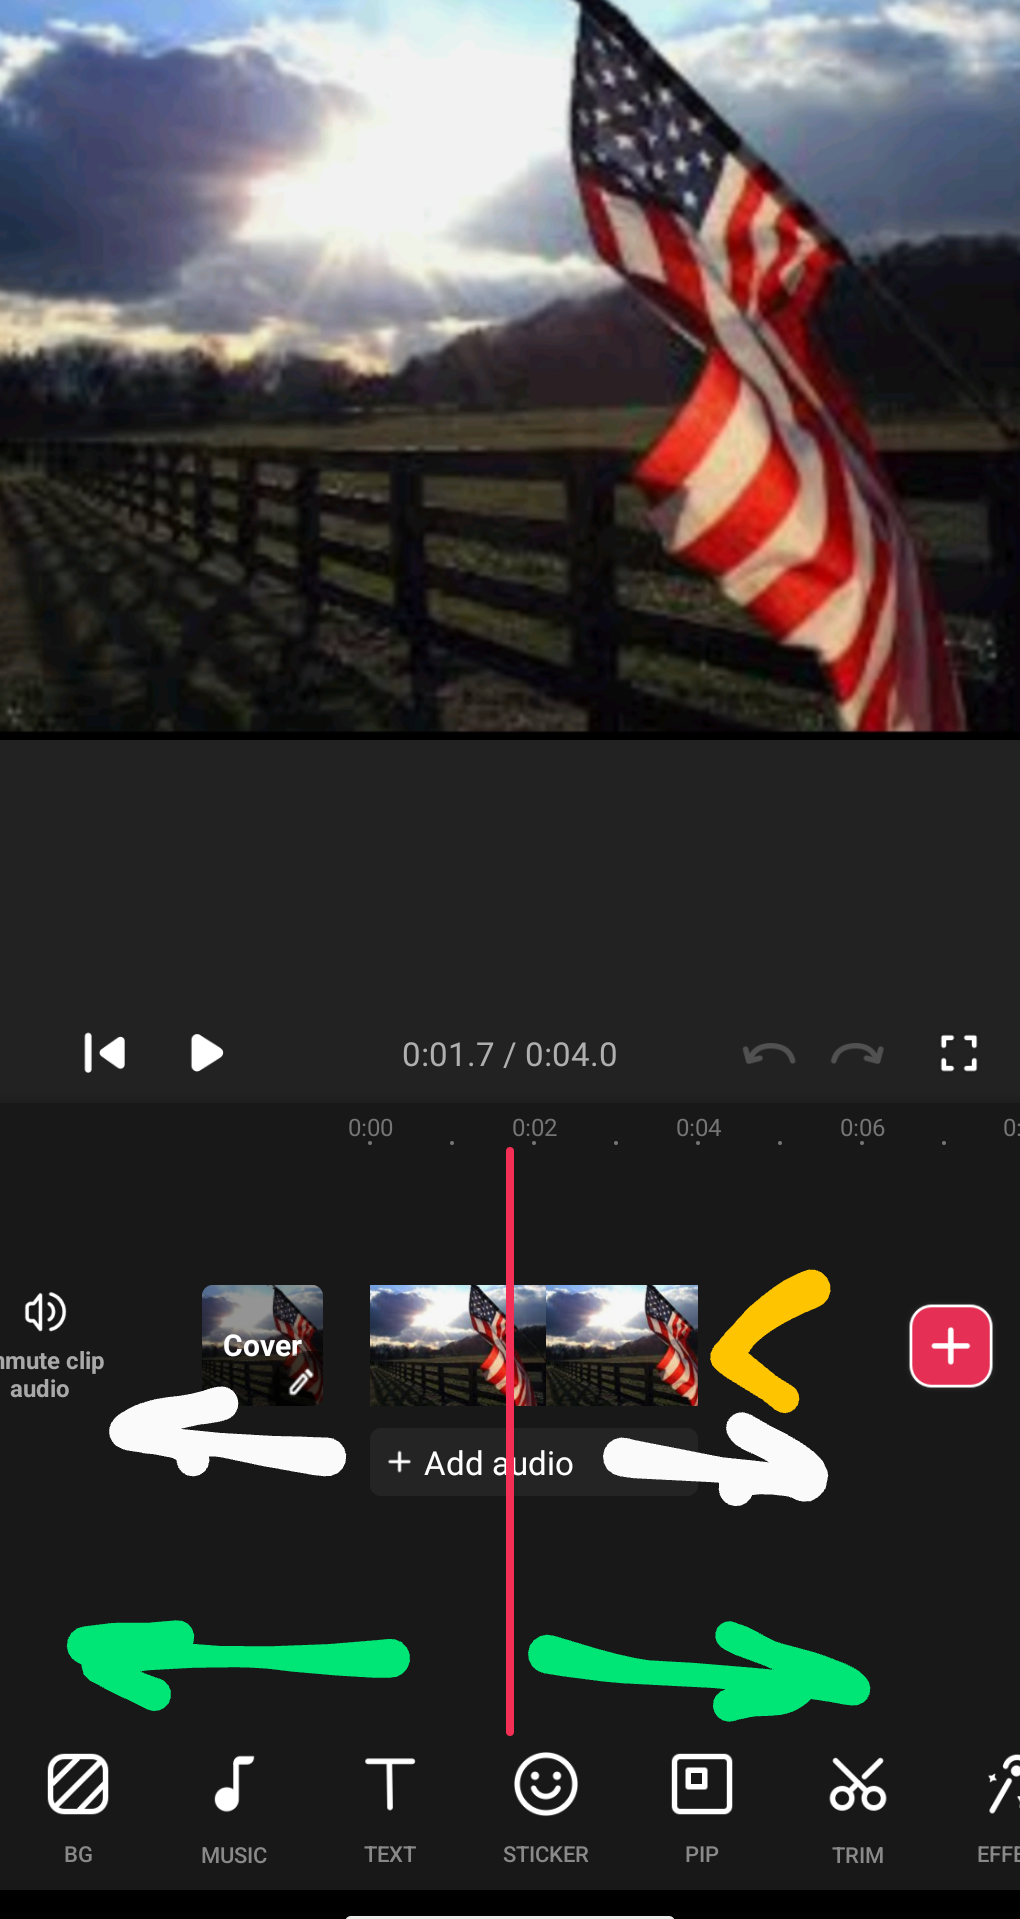
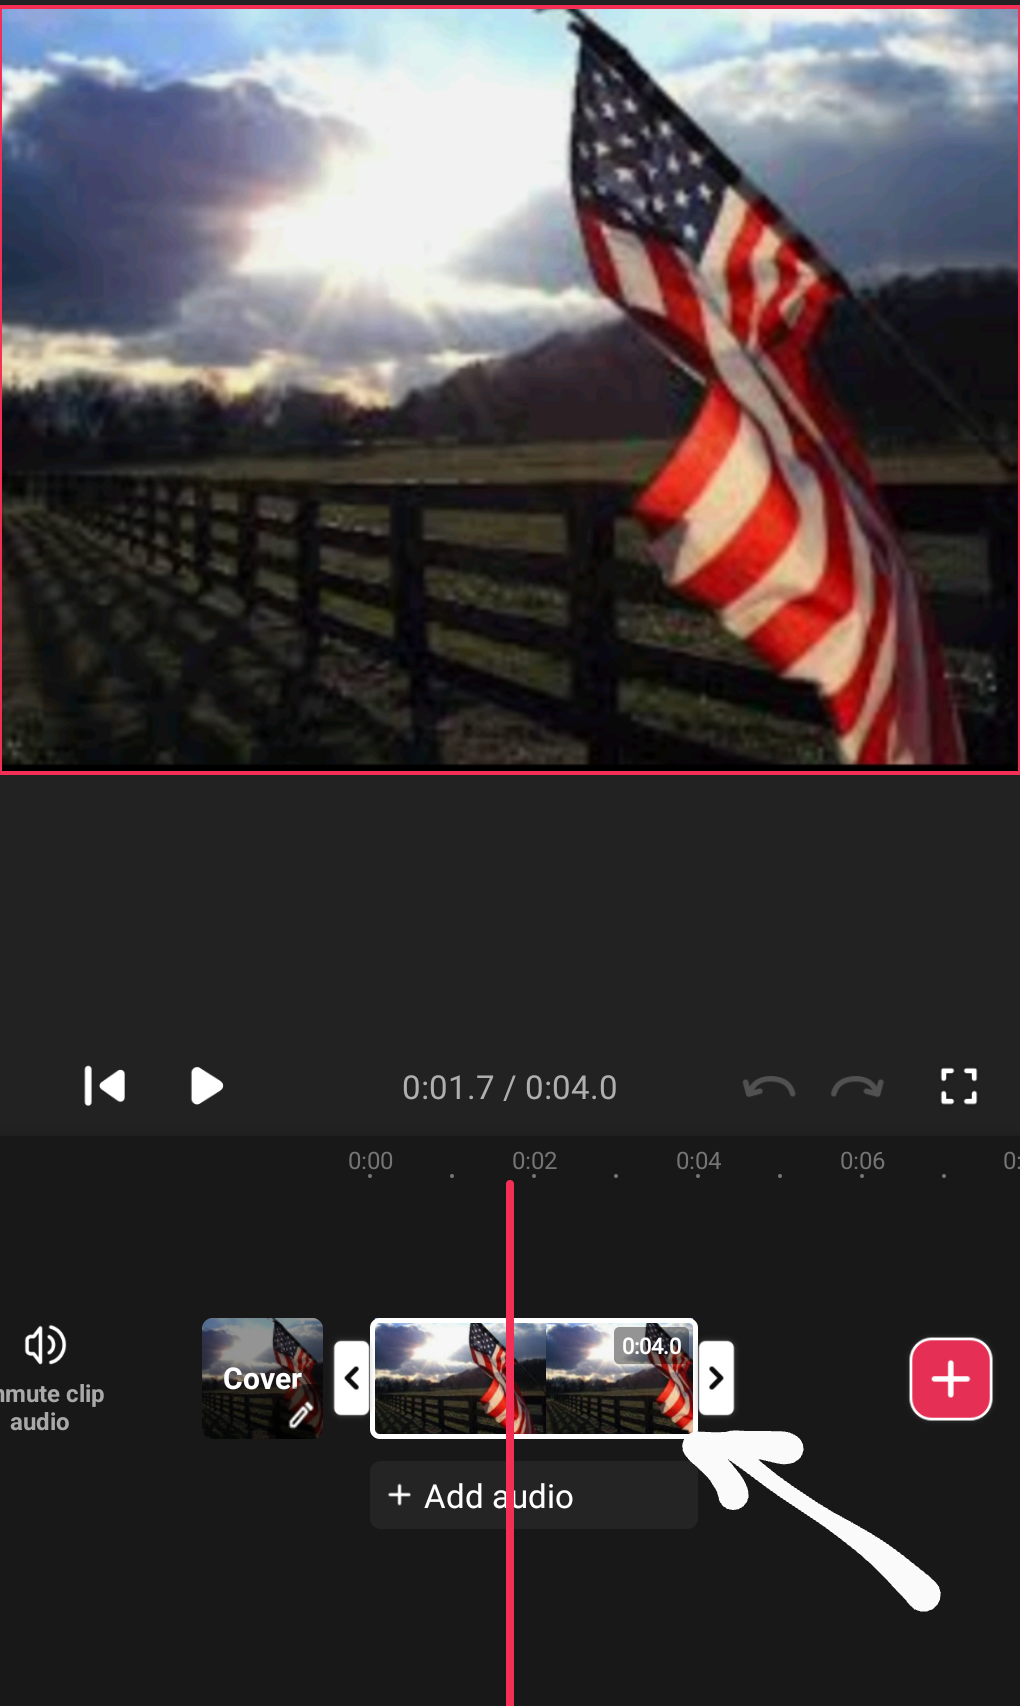
step 2 i have loaded three slides. first if you touch your image thread u will find you can slide it back and fourth when holding down. you can also do this with your tool bar to view and select orher options. next if you tap your image you can select it to edit. next is duration of image. meaning how long you want the image to be visible. the arrows on the edge are tools to drag the length. or you can tap duration on the tool bar. select and drag to desired length. this will take practice. (see tips) or you can select pen in duration and tab in a desired number to set longer time.
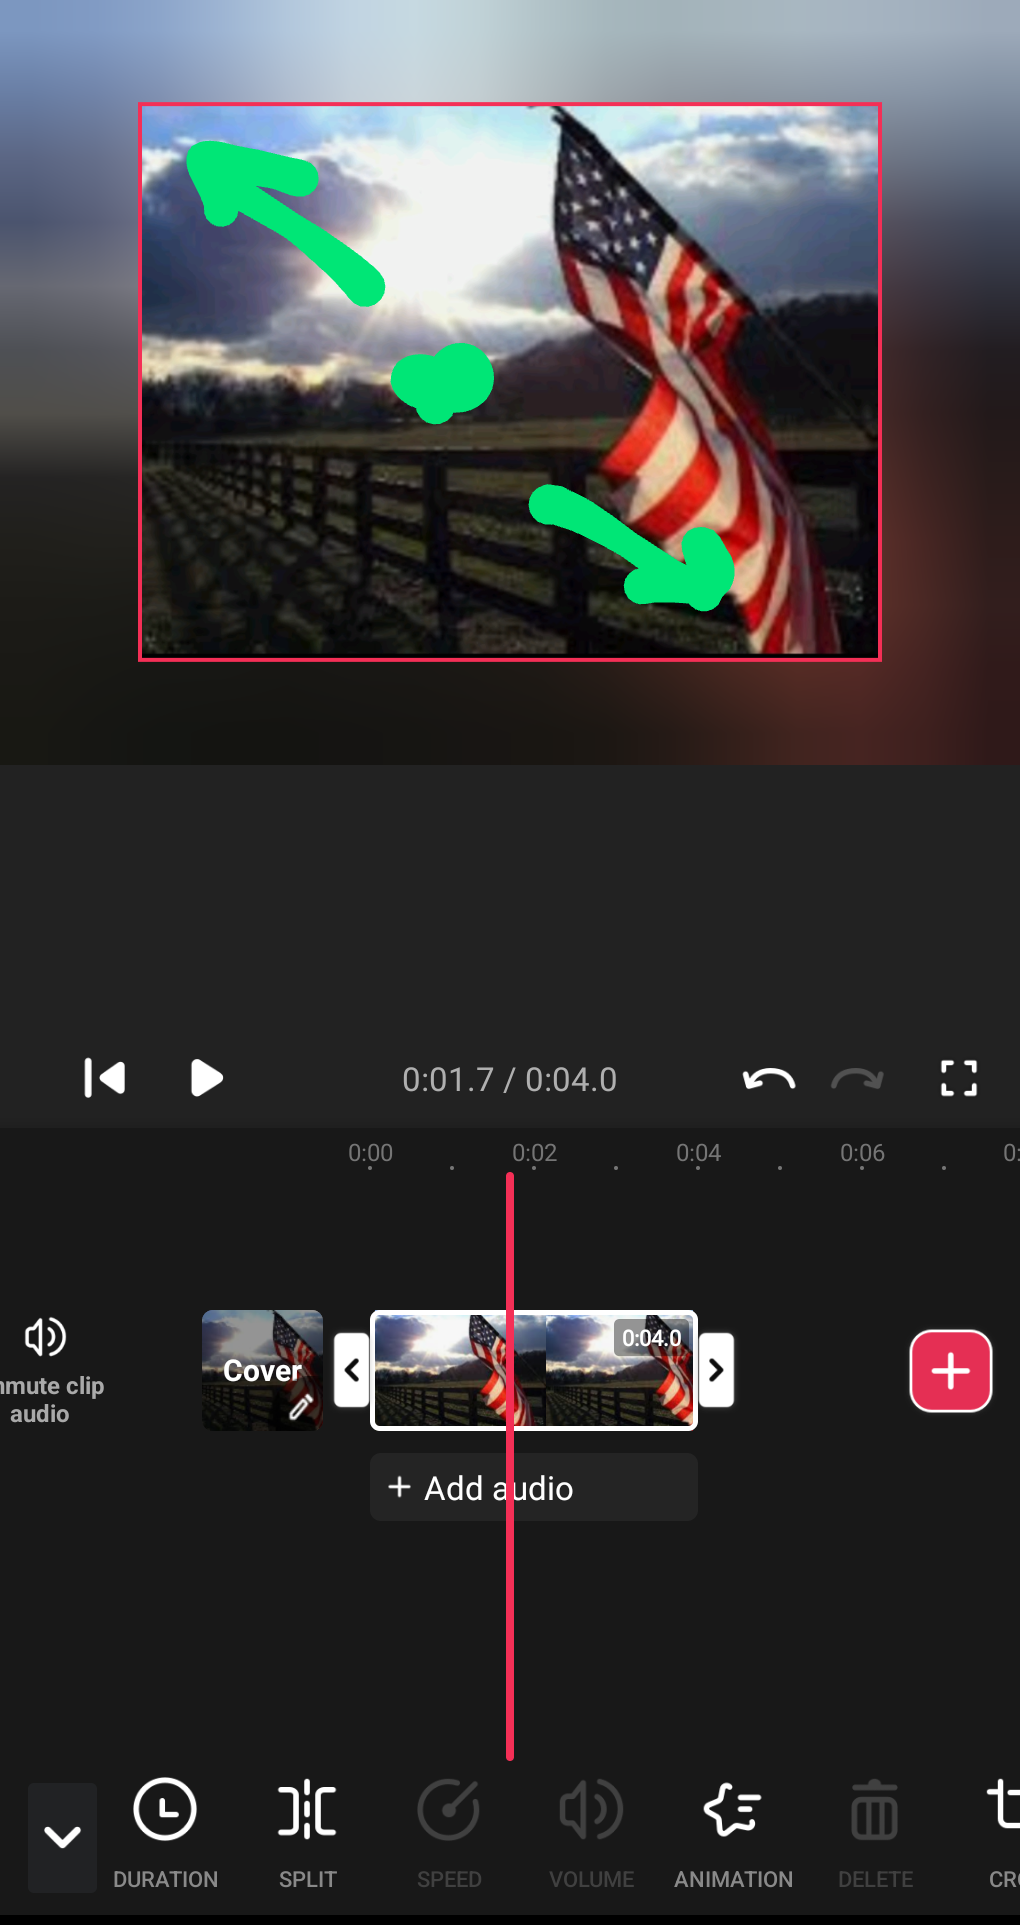
third step. u have a selected image.with two fingers pinch the image to resize to desired position. behind the image is a work space. there are many options when you select BG (back ground) take time to try them all. you can choose a color, choose ur own image, or choose same image to mirror. there is an option bar to blur. i practice to see what is
best for readability. (cont.)
KK
I'm back from serving my duties as a soldier and returning home to a whole new war. #blackpill
this is the 1st step. select your image and load it. easy peasy. next steps ill show you how to select. how to resize. set duration of image. we'll go over the tool bar snd how i used each one ( cont.)